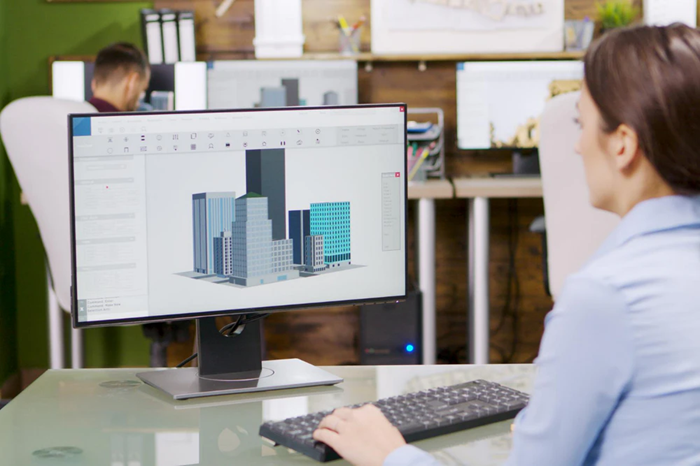
Architectural visualization is a method of showcasing a future project before construction begins—capturing everything from the building’s overall appearance to the fine details of materials, lighting, and the surrounding environment.
It helps convey the design concept clearly and bridges the gap between technical drawings and the actual perception of the space.
3D Interior rendering graphics techniques enable the creation of photorealistic images and animations that can be quickly updated as the design evolves. Consequently, visualization serves as a vital decision-making tool for architects, clients, and contractors alike.
Benefits of Architectural Visualization
Clear communication with the client. Photorealistic images facilitate agreement on style, materials, and layout decisions without the need for complex explanations of technical drawings.
Risk reduction and budget savings. Errors, inconsistencies, and problematic design details are easier to identify during the visualization stage than on the construction site, where corrections are costlier and more time-consuming.
Faster approvals and sales. Visual materials build trust, simplify presentations, enhance marketing efforts, and help sell the property while it is still in the design phase.
Flexibility for changes. Adjustments—such as facade color, finish types, or landscaping—can be quickly incorporated to generate new options without reworking the entire documentation package.
A unified project presentation standard. Visualization acts as a «common language» among architects, engineers, developers, and contractors, minimizing the risk of misinterpretation.
The bottom line: high-quality architectural visualization is more than just attractive imagery; it is a tool for project oversight, decision-making, and improved implementation efficiency.
Gathering Source Data: Drawings, References, and Project Briefs
The quality of architectural visualization is determined not in the 3D software, but during the preparation stage.
The more accurately and comprehensively the source materials are gathered, the fewer revisions will be needed later, and the faster the team will achieve a result that meets expectations.
This stage transforms scattered ideas into a clear system: exactly what is being modeled, what it should look like, which angles will be shown, and the criteria for project acceptance. Below is a list of what needs to be collected and how to structure it.
What the source data package should include
1) Drawings and geometry—the foundation of accuracy. The less the visualizer has to rely on guesswork, the more consistent the result.
- Floor plans with dimensions and elevation markers; room schedules.
- Elevations and sections (preferably with elevation markers).
- Roof plan, construction nodes, and details (if relevant to the shot).
- Site plan/master plan: positioning, paving, landscaping, and site furnishings.
- Source files: PDF, DWG, or IFC (if BIM is used), as well as the approved «working version.»
Important: all materials must be up-to-date and unambiguous. If there are multiple versions, establish beforehand which one is considered the master version.
2) References (visual guides) – translate preferences from vague «likes/dislikes» into clear, actionable parameters.
- Style references (architecture, surroundings, mood).
- Materials and textures (stone, plaster, metal, wood) with examples shown in real-world lighting.
- Lighting and atmosphere: time of day, weather, season, contrast, air density.
- Shot composition: examples of angles, scale, camera height, and focal length.
- Scene elements: vegetation, people, vehicles, interior/exterior furnishings.
References are most useful when accompanied by a brief explanation for each image, highlighting what is important—such as color, material, composition, the level of visual «cleanliness,» or the degree of realism.
3) Technical Specification (Brief) – the primary document outlining requirements and acceptance criteria.
- Visualization goal: sales, approval, competition entry, investor presentation, portfolio.
- Shot list: quantity, type (exterior/interior), key viewpoints, priorities.
- Formats and parameters: resolution, orientation, color profile, requirement for source files.
- Level of detail: elements requiring high detail versus those that can be simplified.
- Materials and colors: finishes schedule, RAL codes/brands, acceptable alternatives.
- Lighting: day/evening scenarios, light temperature, accent lighting.
- Deadlines, stages, number of revision rounds, approval process, and points of contact.
- Acceptance criteria: definition of «complete,» scope of included revisions, and—additional.
In summary: well-prepared drawings, clear reference materials, and a precise project brief establish a shared set of expectations for all participants. This reduces the risk of rework, accelerates production, enhances accuracy, and transforms architectural visualization into a truly powerful tool—both for decision-making and for project presentation.